
How to Use an Airbrush: Setup, First Spray and Fixing Common Problems
How to use an airbrush step by step: connecting the hose, setting pressure, testing with water, thinning paint, trigger control, practice drills and fixes.
Affiliate disclosure: product links on this page go to Amazon, or to the maker's own store for brands that sell only direct. As an Amazon Associate we earn from qualifying purchases, at no extra cost to you; a link to a maker's store earns us nothing. No retailer or brand sees our picks before they are published or has any say in them. How we choose.
To use an airbrush: connect the hose, set the compressor to the pressure the paint maker gives (Vallejo, for example, gives 15 psi for its Model Air hobby acrylics), test with water, then load a few drops of paint thinned to the consistency of skim milk. On a dual-action airbrush, press the trigger down for air first, pull back gently for paint, and always return the paint before you release the air. Spray onto scrap until the pattern is clean, then onto the piece, keeping the airbrush moving.
That is the whole method; the rest is practice and keeping it clean. Below: setup step by step, the trigger habit, five drills, and a table of the common problems with Iwata's fixes.
1. Set up
- Place the compressor on a stable surface away from the spray area, with room around it to cool. Iwata notes compressors get hot and have a thermal overload switch.
- Fit the moisture trap and regulator if they ship separately. Iwata says its compressors' moisture traps may need some assembly.
- Connect the hose. On Iwata's hose the small end (1/8 inch BSP) goes to the airbrush and the large end (1/4 inch NPT) to the compressor; other compressors may need an adapter. Paasche airbrushes use Paasche's own 1/4"-20 thread with an adapter.
- Check for leaks. If the compressor cycles on and off while you are not spraying, Iwata suggests brushing soapy water on the joints: bubbles show the leak. Tighten, or wrap the threads with up to three turns of sealant tape.
- Ventilate and protect your lungs. Spray into a booth or toward an open window with an exhaust fan, and wear the respirator the paint's safety data sheet calls for. See spray booth ventilation and respirators.
2. Set the pressure
Start from two numbers: the paint maker's recommended pressure and your airbrush maker's working range. Iwata, for example, rates the NEO CN at 8 to 20 psi and the Eclipse HP-CS at 25 to 35 psi. Iwata's setup guide adds that lower pressure gives finer lines, and that some airbrushes behave differently at low pressure, so check your model's range. Set the pressure on the regulator while air is flowing (trigger pressed), because the gauge reads higher with the airbrush closed, especially on tankless compressors. Our airbrush PSI chart lists paint makers' figures.
3. Test with water
Iwata's first rule is to test with water. Put a few drops in the gravity cup (or fill the siphon bottle), press down for air, pull back and spray onto paper. You are checking that it atomizes into a fine mist, stops when you return the trigger, and does not bubble in the cup (bubbles mean a loose nozzle cap or a cracked nozzle, per Iwata's troubleshooting guide).
4. Thin the paint
Iwata's rule of thumb is the consistency of skim milk. Many airbrush paints are sold ready to spray (Vallejo Model Air and Createx Airbrush Colors are labeled for airbrushing); others, such as Tamiya acrylics or craft paint, need thinning with the maker's thinner or medium. Follow the paint maker, not a generic ratio: our thinning chart and thinner guide list them.
5. The trigger habit
On a dual-action airbrush, the order matters:
- Press down for air.
- Start moving the airbrush.
- Pull back gently for paint; further back gives a wider line.
- Return the trigger forward to stop the paint.
- Release the trigger to stop the air.
Air first and air last keeps paint from spitting out as a blob when you start, and clears the tip when you stop. Keep moving while paint flows; stopping in one place makes a puddle and, at close range, the "spider" runs that come from too much paint and air on one spot.
6. Five practice drills
| Drill | How | What it teaches |
|---|---|---|
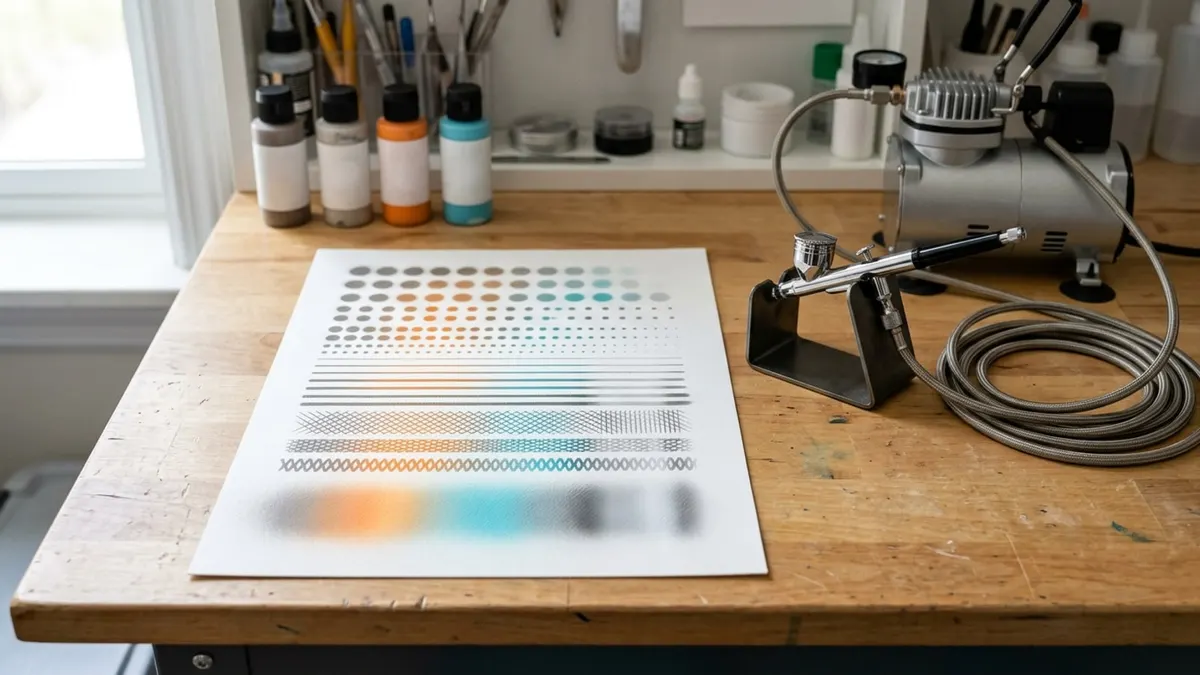
| Dots | Air on, a quick pull back and forward, air off. Rows of same-size dots at one distance. | Trigger control |
| Lines | Move first, then add paint. Straight lines at three distances. | How distance changes line width |
| Dagger strokes | Start close with a little paint, pull away while easing the trigger forward. | Tapering |
| Fades | Overlapping passes that lighten toward one end. | Gradients |
| Even fill | Fill a square with light, overlapping passes. | Base coats without runs |
Do them in one color at one pressure before you change anything else. Iwata's beginner kit includes a book and exercise kit for the same reason.
7. Fix common problems
| Problem | Likely cause (per Iwata) | Fix |
|---|---|---|
| Spattering or skipping | Dried paint on the needle tip, paint too thick, pressure too low, dirty airbrush | Wipe the needle tip, thin the paint, raise the pressure a little, deep clean |
| Bubbles in the cup | Loose nozzle cap, poor nozzle seat, cracked nozzle | Hand-tighten the cap, reseat the nozzle, replace if cracked |
| Not spraying | Loose needle chucking nut, blocked bottle vent, wrong pressure, paint too thick, clogged nozzle | Tighten the nut, clear the vent, adjust pressure, thin paint, clean |
| Needle stiff | Dried paint on the needle, packing too tight | Clean the needle; a drop of lube on its front third |
| Compressor cuts out | Overheating, full tank, power | Let it cool; spray briefly if it has a tank |
8. Clean before you put it away
Flush with cleaner until it sprays clear after every color, and strip and clean the needle and nozzle at the end of each session. Iwata warns never to soak the whole airbrush, and to soak the nozzle and caps for no more than 10 minutes. The full routine is in how to clean an airbrush.
Still choosing gear? Start with the best airbrush for beginners and airbrush compressors.
Frequently asked questions
How do you use an airbrush for the first time?
Connect the hose, set the compressor to the paint maker's pressure, and test with water first. Then load thinned paint, press down for air, pull back for paint, keep moving, and return the paint before releasing the air. Practice dots and lines on paper.
How thin should airbrush paint be?
Iwata's rule of thumb is the consistency of skim milk. Many airbrush paints, such as Vallejo Model Air and Createx Airbrush Colors, are sold ready to spray; others need the maker's thinner. Follow the paint maker's own ratio.
What PSI should I airbrush at?
Use the paint maker's recommendation within your airbrush's range. Iwata rates its NEO CN at 8 to 20 psi and its Eclipse HP-CS at 25 to 35 psi. Lower pressure gives finer lines; thicker paints and primers need more.
Why is my airbrush spitting?
Usually dried paint on the needle tip, paint that is too thick, or pressure that is too low, according to Iwata's troubleshooting guide. Wipe the needle tip, thin the paint, raise the pressure slightly and clean the airbrush.
How far should I hold the airbrush from the surface?
Close for fine lines and farther for wide, soft coverage. Find the distance by spraying lines at several distances on scrap at your working pressure, then keep it consistent on the piece.
Do I need a respirator to airbrush?
Airbrushing puts fine paint mist in the air you breathe. Ventilate the space, and wear the respirator the paint's safety data sheet recommends, especially with solvent-based paints, primers and varnishes.
Sources
- Equipment Setup, Iwata-Medea
- Troubleshooting, Iwata-Medea
- Airbrush Cleaning, Iwata-Medea
- NEO for Iwata CN (N4500), Iwata-Medea
- Iwata Eclipse HP-CS (ECL4500), Iwata-Medea
- Iwata Beginner Airbrush Kit with NEO CN (IW125), Iwata-Medea
- TG Model (air inlet thread), Paasche Airbrush
Cover image: Illustration: Airbrush Review (AI-generated)
Related guides
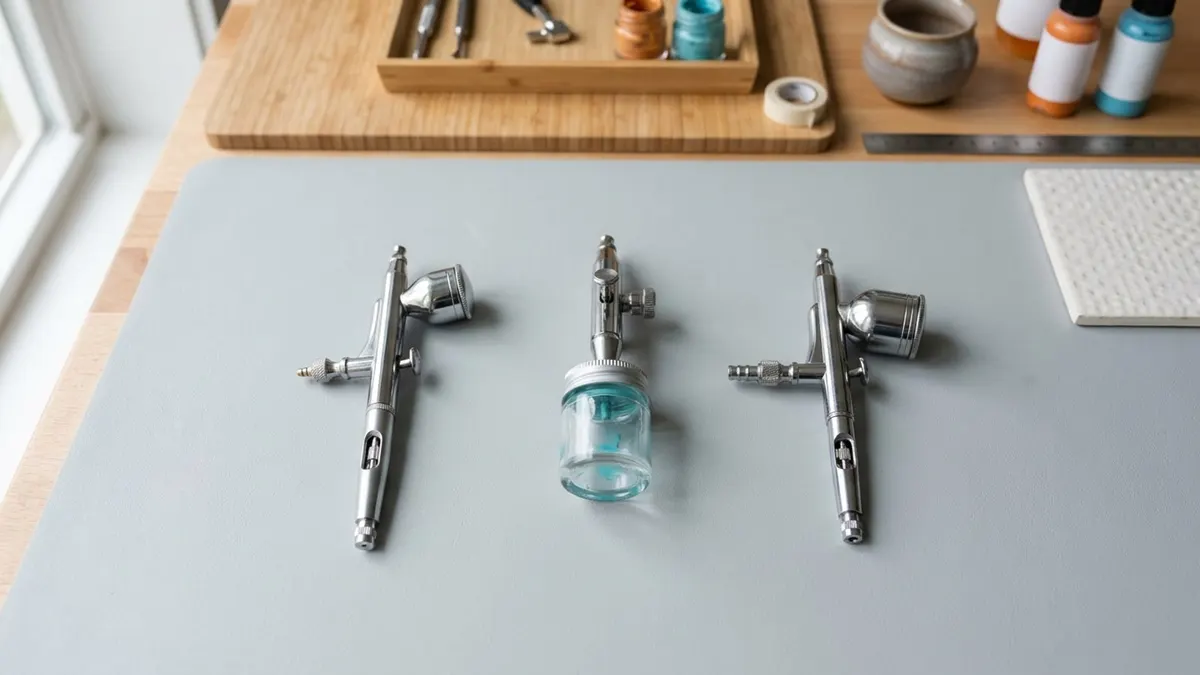
Airbrush Types Explained: Dual vs Single Action, Gravity vs Siphon Feed
The four choices that define an airbrush, explained with the makers' own figures, and the type that suits each kind of painting.
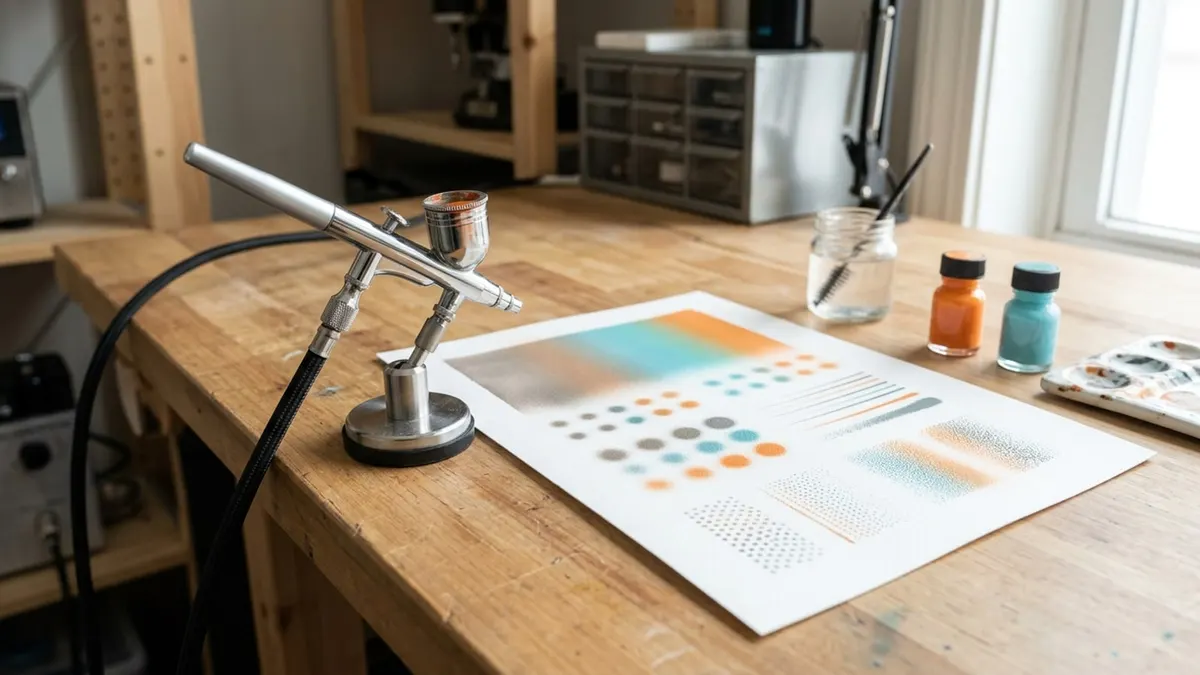
Best Airbrush for Beginners (2026): Five Starter Airbrushes Compared
Five first airbrushes, from a $40 three-nozzle set to Harder & Steenbeck's own beginner model, with the compressor each one needs.
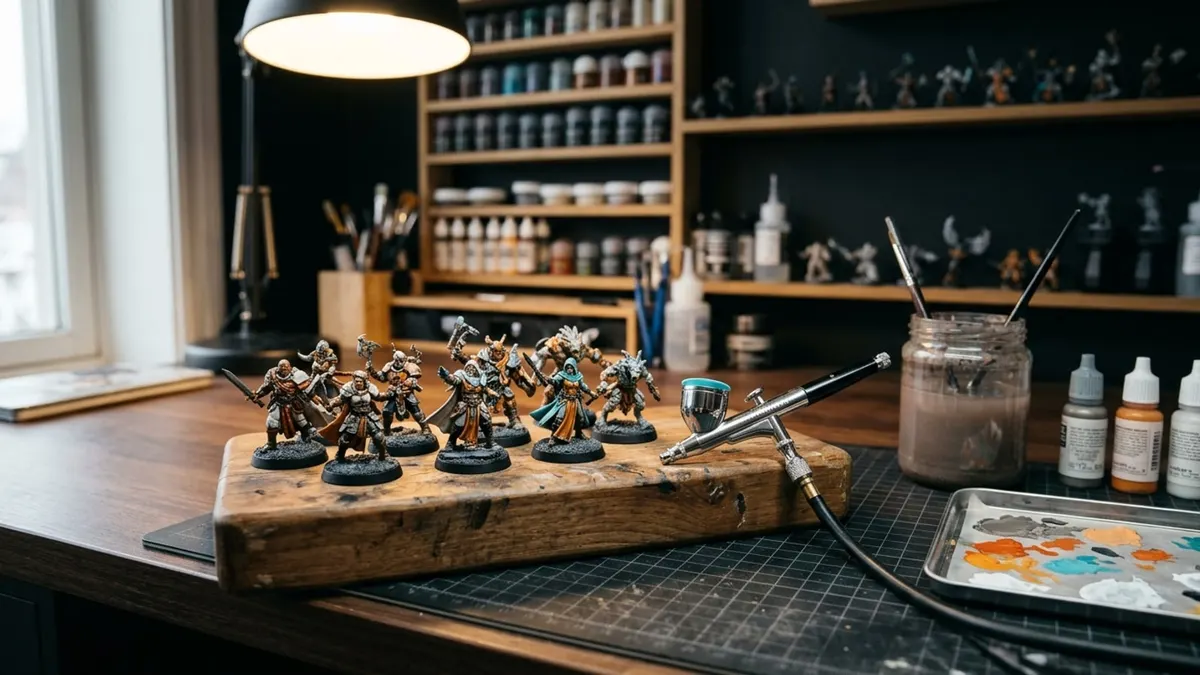
Best Airbrush for Miniatures (2026): Detail, Base Coat and Budget Picks
Five airbrushes for painting 28 mm figures and larger, from a 0.25 mm titanium detail airbrush to a two-nozzle budget set, with the paint and pressure to use.